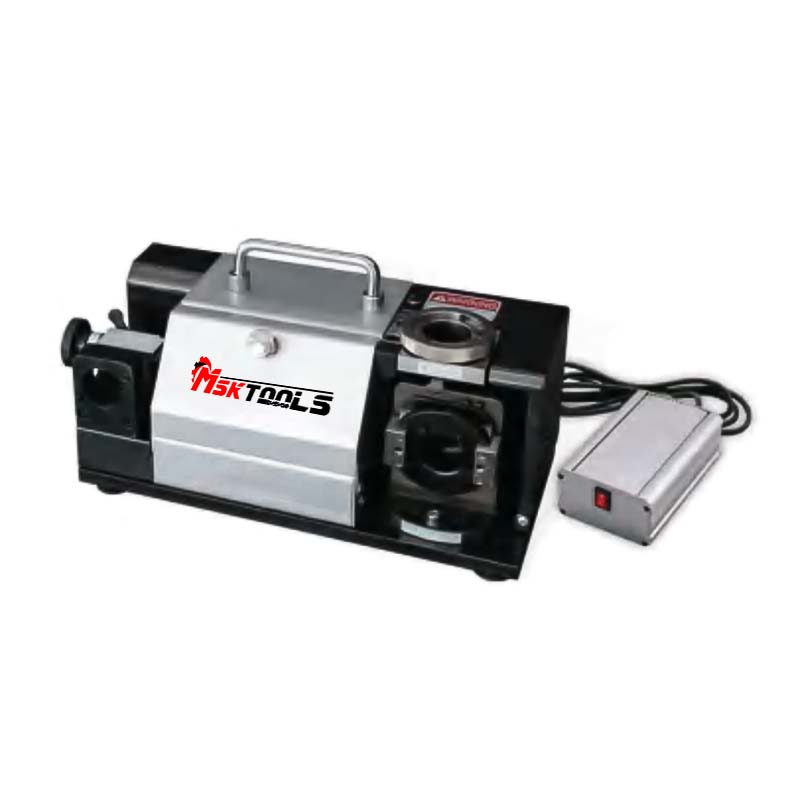
Unboxing a new tool is always exciting, but mastering it is where the real value is found. The DRM-13 drill bit sharpener machine is designed for both simplicity and exceptional results. This guide walks through its key features and the step-by-step process that enables anyone to achieve a factory-perfect drill point, ensuring precision and efficiency in every sharpening job.
Feature Breakdown:
Robust Construction & Motor: The DRM-13 is built on a stable base to minimize vibration, the enemy of precision grinding. Its powerful motor maintains consistent speed under load, ensuring a clean, crisp grind on even the toughest tungsten carbide bits.
Versatile Grinding Wheel: It comes equipped with a general-purpose wheel ideal for high-speed steel drills. A optional harder, diamond-impregnated wheel is available for dedicated carbide sharpening. The wheel guard and integrated mist coolant system (on some models) help manage heat and extend wheel life.

Precision Clamping and Indexing System: This is the heart of the machine. The drill chuck securely holds bits from a minimal diameter (e.g., 2mm) up to 13mm or more. The clamping assembly allows for precise adjustment of the point angle (typically between 90° and 140°) and the clearance angle.
Clear Viewing Optics or Laser Guide (on advanced models): Many modern units like the DRM-13 feature a magnifying lens or a laser projection system. This allows the user to see the exact relationship between the drill point and the grinding wheel with extreme clarity, ensuring perfect alignment before any material is removed.
The Sharpening Process:
Step 1: Setup & Selection. Select the appropriate grinding wheel for your material (standard for HSS, diamond for carbide). Secure the drill bit firmly in the chuck, ensuring it is seated straight and at the correct protrusion length.
Step 2: Angle Adjustment. Set the desired point angle using the machine's graduated scale. This angle is chosen based on the material to be drilled (e.g., 118° for general purpose, 135° for harder metals).
Step 3: Aligning the Cutting Edge. Using the viewing lens, bring the drill bit forward until the existing cutting edge is perfectly horizontal and aligned with the reference line. This ensures the grind will start at the correct point on the lip.
Step 4: The Grind. Gently swing the clamping assembly into the spinning grinding wheel. A brief contact is all that's needed. The machine's jig controls the path, automatically generating the correct rear inclined angle behind the lip. Repeat this process until a clean, new edge is formed along the entire lip.
Step 5: Indexing and Repeating. Release the clamp, rotate the drill bit exactly 180 degrees within the chuck. The precision chuck ensures perfect symmetry. Repeat the grinding process for the second cutting lip.
Step 6 (Optional): Chisel Edge Thinning. For optimal performance, especially on larger drills, the DRM-13 can be used to thin the web. This involves a slight adjustment of the drill's position and a light pass to grind away a portion of the chisel edge, reducing drilling thrust dramatically.
The result of this guided process is a drill bit that is often sharper and more balanced than a factory-new one. The DRM-13 re-sharpening machine demystifies a complex sharpening task, transforming it into a quick, repeatable, and highly rewarding process that guarantees a professional finish and restores every drill to peak performance.
Post time: Mar-03-2026


